| .vscode | ||
| bin | ||
| data | ||
| files | ||
| images | ||
| scripts | ||
| .gitignore | ||
| .travis.yml | ||
| compatibility.xml | ||
| go.mod | ||
| go.sum | ||
| init.lua | ||
| LICENSE | ||
| mod.xml | ||
| README.md | ||
Noita MapCapture addon 
Addon that captures a Noita world and saves it as image.
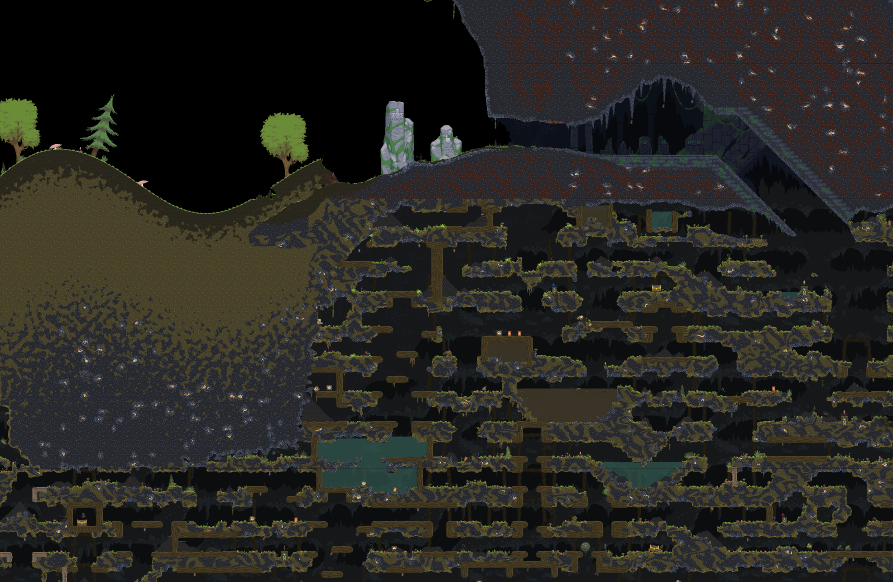
A resulting image with nearly 3.8 gigapixels can be seen here (Warning: Spoilers).
System requirements
- Windows Vista, ..., 10. (64 bit OS for stitching)
- A few GB of free drive space.
- 4 or more GB of RAM for gigapixel images. (But it works with less as long as the software doesn't run out of virtual memory)
- A processor.
- Optionally a monitor, keyboard and mouse to interact with the mod/software.
- A sound card to listen to music while it's grabbing screenshots. Capturing and stitching will take about 180 minutes (160 + 20).
Usage
- Have Noita installed.
- Download the latest release of the mod from this link (The
Windows.x86.7z, not the source) - Unpack it into your mods folder, so that you get the following file structure
.../Noita/mods/noita-mapcap/mod.xml. - Set your resolution to 1280x720, and use the
Windowedmode. (NotFullscreen (Windowed)!) If you have to use a different resolution, see Advanced stuff. - Enable the mod and restart Noita.
- In the game you should see text on screen.
- Either press
>> Start capturing map around view <<to capture in a spiral around your current view. - Or press
>> Start capturing full map <<to capture the whole map.
- Either press
- The screen will jump around, and the game will take screenshots automatically.
- Screenshots are saved in
.../Noita/mods/noita-mapcap/output/. - Don't move the game window outside of screen space. You can cover it with other windows, and continue using your PC.
- Don't minimize the game window.
- If you need to pause, use the ESC menu.
- Also, make sure that the console window isn't selected, as you will end up with screenshots of the console instead of the game. You can select and use any other window while it's capturing screenshots, though.
- Screenshots are saved in
- When you think you are done, close Noita.
- Start
.../Noita/mods/noita-mapcap/bin/stitch/stitch.exe.- Use the default values to create a complete stitch.
- It will take the screenshots from the
outputfolder.
- The result will be saved as
.../Noita/mods/noita-mapcap/bin/stitch/output.pngif not defined otherwise.
How to do a full map capture with minimal trouble
For the best experience and result, noita_dev.exe should be used.
This has the advantage of disabling the fog of war, and it can speed up the capturing process quite a bit, as a larger screen can be captured.
Here is a step by step explanation how to do so:
-
Have the mod installed and enabled as described in Usage.
-
Change the following values inside of
.../Noita/mods/noita-mapcap/files/magic_numbers.xmlto<MagicNumbers VIRTUAL_RESOLUTION_X="1024" VIRTUAL_RESOLUTION_Y="1024" ... > -
Change the following values inside of
.../Noita/save_shared/config.xml(Not the one in AppData!) to<Config ... backbuffer_height="1024" backbuffer_width="1024" internal_size_h="1024" internal_size_w="1024" window_h="1024" window_w="1024" fullscreen="0" ... >If that file doesn't exist do step 5, and come back here, and continue from step 3.
-
Patch your
.../Noita/noita_dev.exewith Large Address Aware or a similar tool. This is optional, but it prevents crashes from Noita running out of memory. -
Start
.../Noita/noita_dev.exe. -
When the game is loaded (When you can control your character):
- Press
F5,F8andF12(In that order).
- Press
-
Press the
>> Start capturing full map <<button. -
Wait a few hours until it's complete.
-
Stitch the image as described in Usage.
Advanced stuff
If you use noita_dev.exe, you can enable the debug mode by pressing F5. Once in debug mode, you can use F8 to toggle shaders (Includes fog of war), and you can use F12 to disable the UI. There are some more options in the F7 and Shift + F7 menu.
You can capture in a different resolution if you want or need to. If you do so, you have to adjust some values inside of the mod.
The following two equations have to be true:
- Where
CAPTURE_PIXEL_SIZEcan be found inside.../Noita/mods/noita-mapcap/files/capture.lua VIRTUAL_RESOLUTION_*can be found inside.../Noita/mods/noita-mapcap/files/magic_numbers.xml- and
SCREEN_RESOLUTION_*is the screen resolution you have set up in noita.
You can also change how much the tiles overlap by adjusting the CAPTURE_GRID_SIZE in .../Noita/mods/noita-mapcap/files/capture.lua. If you increase the grid size, you can capture more area per time. But on the other hand the stitcher may not be able to remove artifacts if the tiles don't overlap enough.
The rectangle for the full map capture mode is defined in .../Noita/mods/noita-mapcap/files/capture.lua.